
1. Unboxing and Parts Overview
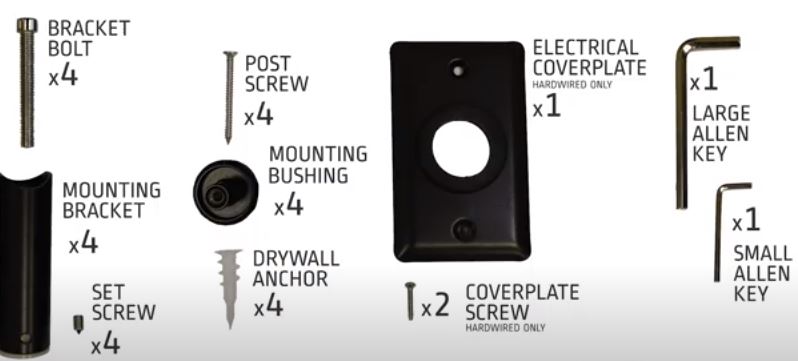
The video starts by showcasing all the components included in the radiant installation kit. Notably, the kit comprises the radiant unit, mounting brackets, bracket bolts, an electrical cover plate, and cover plate screws. It’s essential to note that the electrical cover plate and screws are specific to hardwired models. Additionally, you’ll need a standard Philips screwdriver, not included in the kit.
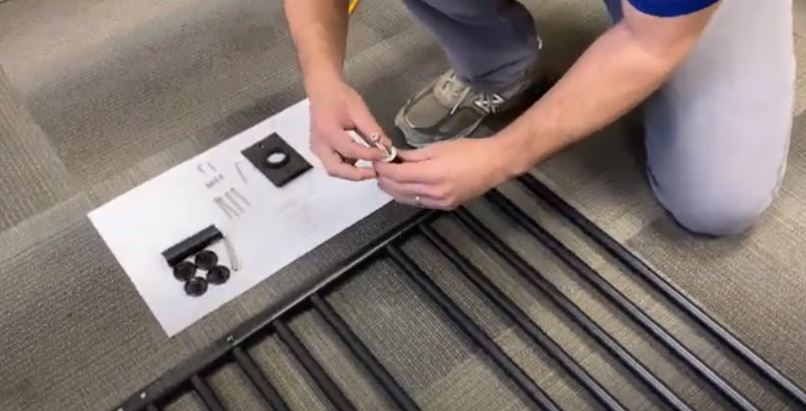
2. Mounting Bracket Installation
- Insert the bracket bolts into the mounting brackets.
- Use a large Allen key to secure them to the back of the radiant unit.
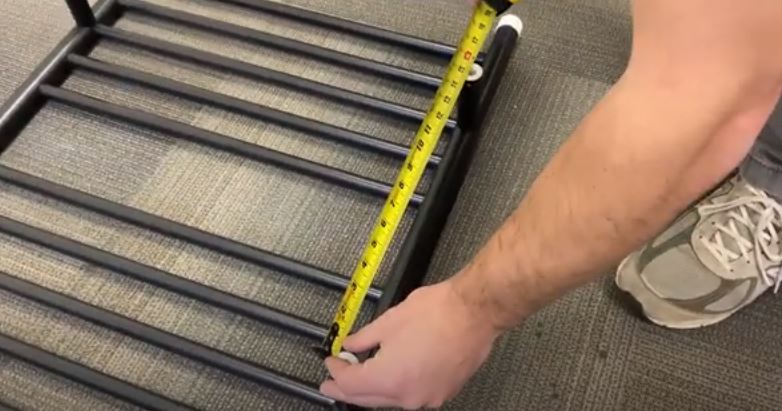
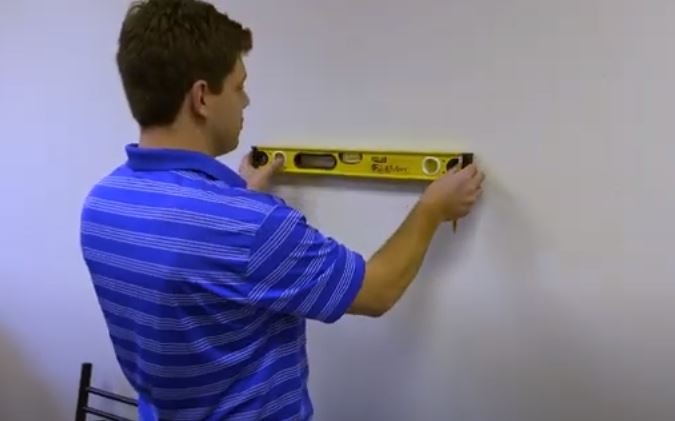
3. Positioning the Radiant Unit
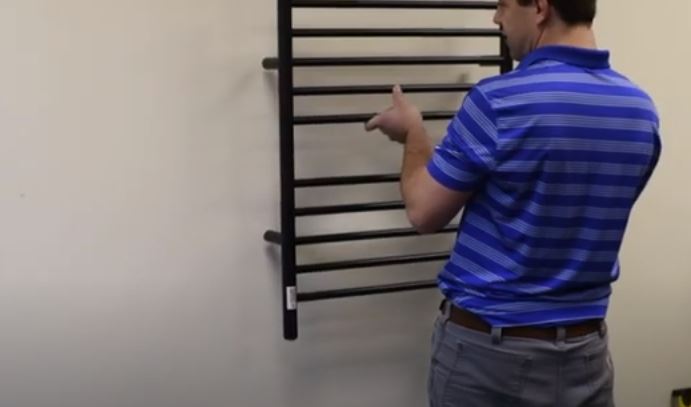
- Lift the radiant unit and position it on the wall where you intend to mount it.
- Mark the location of each mounting bracket on the wall.
- Ensure correct center points and measurements both horizontally and vertically.
- It’s crucial to align the bottom of the unit with the hardwiring point on your wall.
- Confirm that the entire arrangement is level.
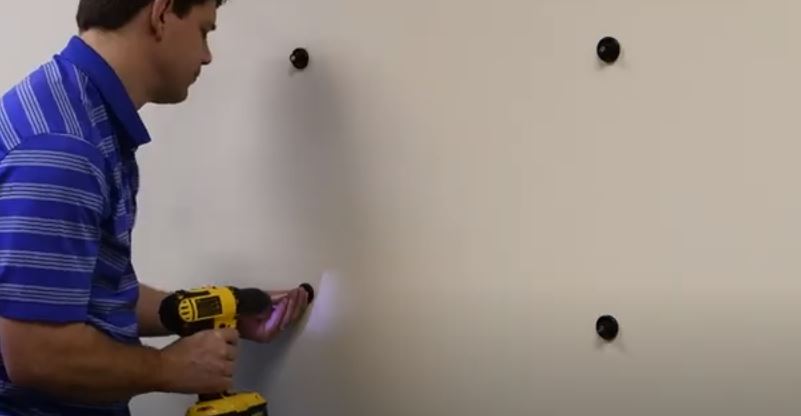
4. Wall Preparation
- Drill through each center point marked on the wall for each mounting bracket.
- Insert drywall anchors at each drilled location.
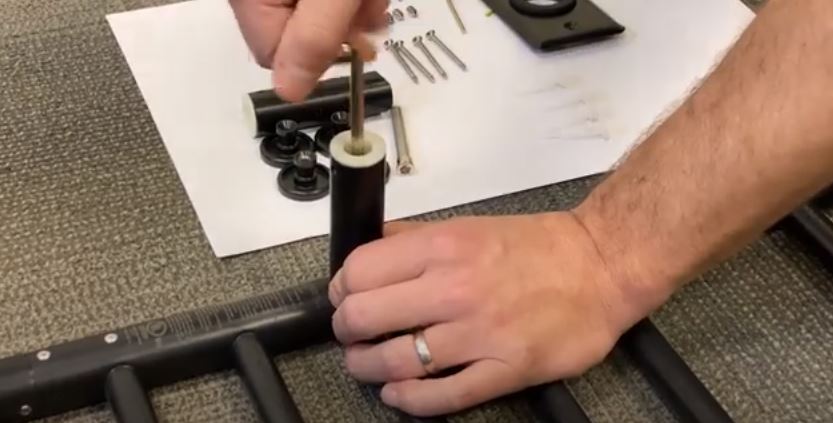
5. Mounting Bushings and Screws
- Install the mounting bushings with the provided mounting screws at each leg.
6. Electrical Cover Plate and Brackets
- Affix the electrical cover plate over the electrical tube.
- Slide the mounting brackets over the bushings.
- Secure each bracket using the set screws and a small Allen key.
7. Electrical Wiring (For Hardwired Models)
- Turn off the power to the circuit at the breaker.
- If you’re unfamiliar with electrical work, consider consulting a professional electrician.
- For plugin models, simply plug the unit into an electrical outlet.
8. Wiring Connection
- Match each wire to its respective color and cap each wire connection with wire connectors.
- Place all cables into a junction box located behind the electrical cover plate.
- Secure the plate with cover plate screws.
9. Power On
- Turn on the breaker, and if you’ve followed the steps correctly, your radiant heater is ready to go.
10. Additional Information
For more details and information, you can visit the official website at amberproducts.com.
By following these detailed steps, you can confidently install your radiant heater and enjoy a warm and comfortable living space. Always prioritize safety, and if needed, seek professional assistance for electrical work. Stay warm!

Pingback: Top 10 Best Over the Door Towel Racks | A Comprehensive Review - towelswarmers